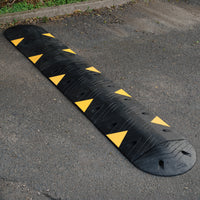
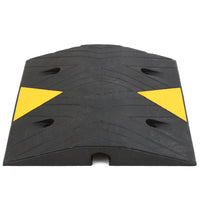
Speed Bump Fitting Guide & Installation
When installing our speed bumps, it's essential to fit them correctly. We've put together this simple guide to outline the speed bump fitting process (or installation) and make sure your speed bumps are secure and safe.
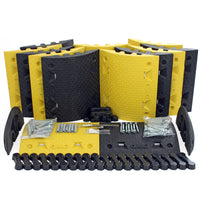
This guide assumes that you are installing a speed bump using one of our speed bump kits, which contains the components you need for the job.

Things you will require
Here's what you'll need to install our speed bumps:
A good fitting surface
Before fitting the speed bumps, you need to ensure that the surface they'll be mounted on is smooth and flat. If the surface has any deviations in it, such as potholes or cracks in the tarmac, then you can use our pothole repair product to prepare the surface.
The right depth
The surface you are attaching the speed bumps to should be a minimum of 150mm deep or deep and made of asphalt (tarmac) or concrete.
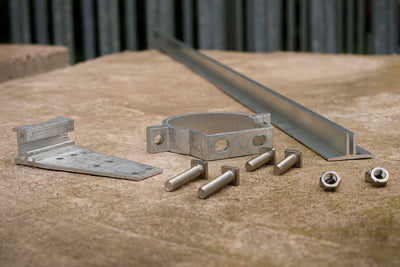
Other equipment
The only other equipment you will require is an electric drill, and a socket set / spanner.

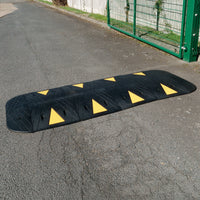
How to install speed bumps
Follow our simple step-by-step instructions to ensure a correct installation.
1. Lay the speed bumps out in the desired location, ensuring that each speed bump lies flat on the road surface and does not rock. If the speed bumps do not lie flat on the road surface, then either fill any holes with some of our pothole repair compound, or adjust the location of the speed bumps to a flatter area.
2. Use chalk to mark the locations of the fixing holes through the speed bumps. It is important that you mark the holes accurately at this point.
3. Once all the fixing locations are marked out, remove the speed bump and drill the holes using the appropriate sized drill bit for the fixings you're using (supplied within mega deals). Tarmac fixings require a 20mm hole and concrete fixings require a 14mm hole. These holes should be at least 100mm deep. Ensure the holes are free of any loose debris.
4. For tarmac fixings: Place the rubber bung of the tarmac section into each hole with the brass nut at the bottom. For concrete fixings: Place the shield portion of the fixing into each hole with the threaded end at the bottom.
5. Place the speed bumps back over the fixing locations and use the bolts supplied along with a washer to secure the speed bumps in location. At this point, only loosely fix each speed bump down.
6. Once all speed bumps are straight and aligned correctly with no gaps, you can go ahead and fully tighten the speed bump fixings.
Final thoughts
Need any extra help choosing speed bumps or installing them? Just give our friendly sales team a call.
- Author
- Tags


You might like:
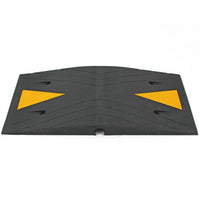
Speed Bumps Complete Kits 50mm 10mph

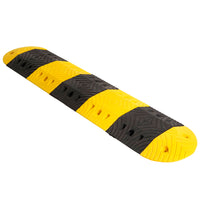
5mph Ridgeback Speed Bump Kits - 75mm

10mph Ridgeback Speed Bump Kits - 50mm
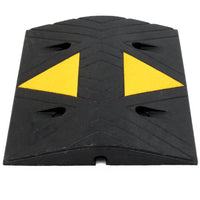
SiteCop Plus 70mm Rubber Speed Bumps For HGV's - Fixings Included

TopStop-Eco Painted Speed Bump Kits
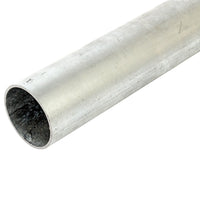
Reinforcement Tube For SiteCop Plus And Standard | 48 x 1200mm
SiteCop Mini Compact 50mm Rubber Speed Bump - Fixings Included
SiteCop Standard 70mm Rubber Speed Bump - Fixings Included
SiteCop Plus Complete Rubber Speed Bump Kit For HGVs - 70mm 5mph
Speed Cushions Recycled Rubber Modular Bolt Down Kit